One of the first things that I set out to do when I decided to learn to code was make sure that my coding environment was a tool to help me learn, instead of getting in the way. I went through a few different options before finally deciding on the stack that works best for me:
This environment is very easy to install and setup.
Fonts
Font choice is highly subjective, so I’d recommend using a service like Prototypo, or at least the Font Playground.
However, if you’re the type - like myself - who will spend/waste several hours simply looking for the best fonts to use in your coding environment, here are a few of my favorites:
- Hack - the font I’m currently Using
- Oxygen Mono
- Inconsolata
Cmder
‘Cmder is a software package created out of pure frustration over the absence of nice console emulators on Windows. It is based on amazing software, and spiced up with the Monokai color scheme and a custom prompt layout, looking sexy from the start.’
I really wish I had known about this application sooner! Cmder is a console emulator for Windows that serves two important functions for us: it provides a CLI that is customizable and easy to use, and it includes Git for Windows.
Be sure to download the Full version if you want Git with Windows included: 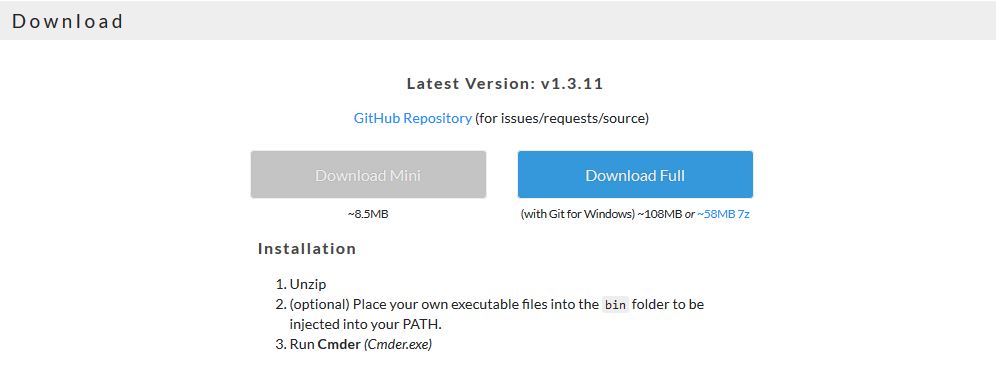
After downloading the Full version, you’ll notice that it’s single executable file. You can extract and run this file from anywhere, but I chose to create a folder in my default installation path (Program Files (x86)\Cmder) for the executable. Then, just create a shortcut and pin it to your desktop or taskbar.
Cmder is ready to use right out of the zip file, and offers far more features than I can reall cover with this guide. There are a few quick things we can change that are pretty handy.
While in the settings, click on the Fonts submenu to choose the font we downloaded earler (I’m currently using Hack), and be sure the size is okay. I prefer to have a Status Bar, which can be turned on or off under the Features category I found the default color scheme (Monokai) to be fine for my needs, though one of the projects on my to-do list are finding or porting the Material theme seen later.
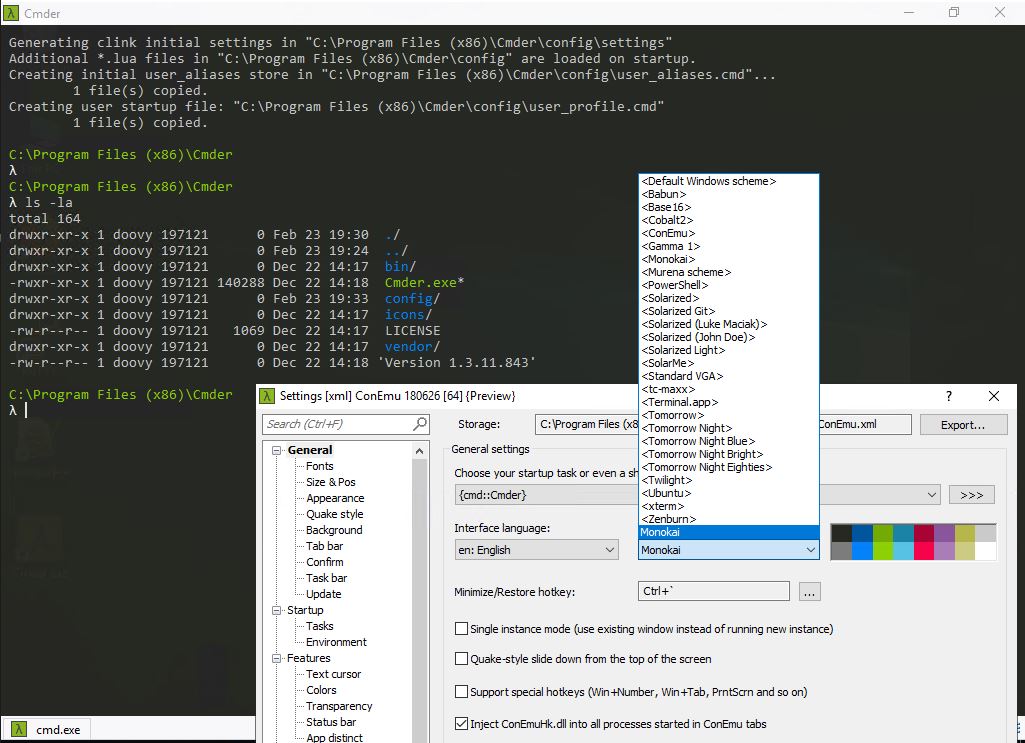
You may have spotted one of my favorite features of Cmder in the picture above…
Cmder understands me when I throw out the habitual ls -la on a Windows system!
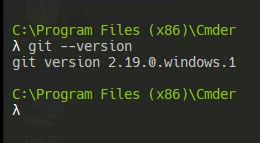
While Cmder is open, lets go ahead and check that Git is installed and available by running a couple commands:
git --version
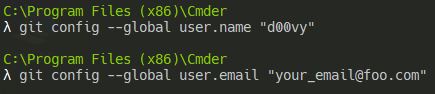
Now we need to tell Git who we are with a couple of commands.
I used my username and email from Github for this step, so if you haven’t already signed up for a Github account, head over to https://github.com/ and get setup with a free account.
Otherwise, you can use whatever values you wish:
git config --global user.name "Firstname Lastname"
git config --global user.email "your_email@foo.com"
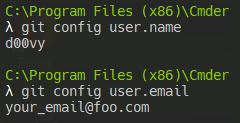
and check that the settings are correct with:
git config user.name
git config user.email
Atom
There are several great options for free text editors designed for coding.
I’m a longtime user of Notepad++, and I toyed with Visual Studio Code and Sublime Text 3 before finally deciding that I prefered Atom.
Atom is very easy to customize and integrates very easily with Git/Github, Hugo, and offers an active community producing an abundance of plugins and extensions.
After installation, Atom should open up with their welcome screen and guide.
Go ahead and set it to always handle the “atom://” URI which will come in handy later. Also, be sure to uncheck the “Show Welcome Guide when opening Atom” box unless you want to be bothered with these screens every time you open the application.
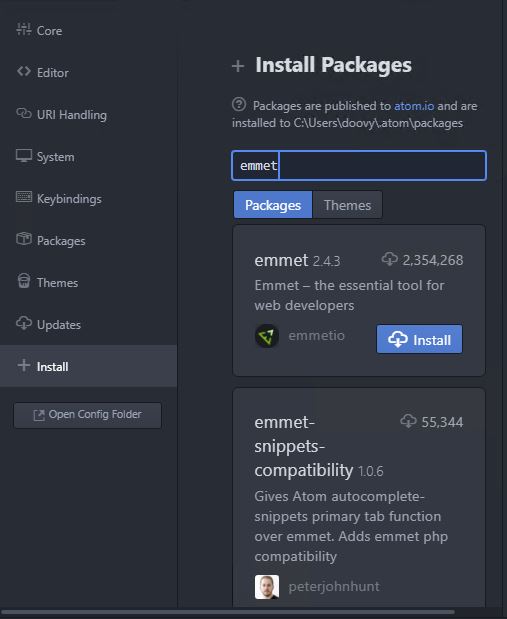
Now, lets change a few settings. CTRL + , will open the settings menu, or you can find it under the File toolbar. Head on down to ‘+Install’ and lets grab a few packages.
In the search bar, type in ‘Emmet’ and install this extremely useful web development toolkit:
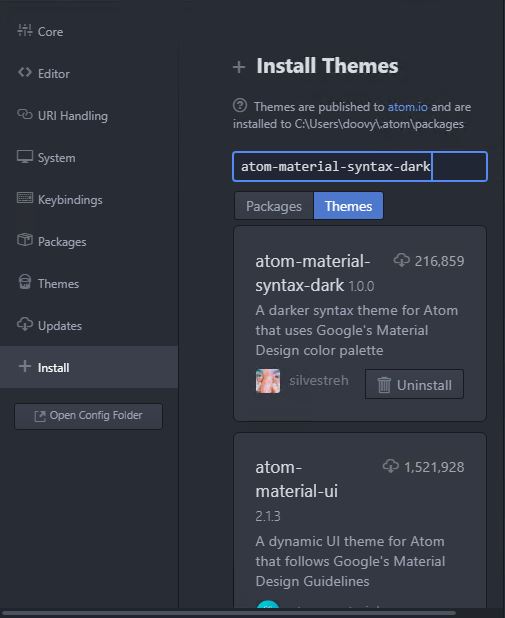
Then, change the search from Packages to Themes, and search for ‘atom-material-syntax-dark’
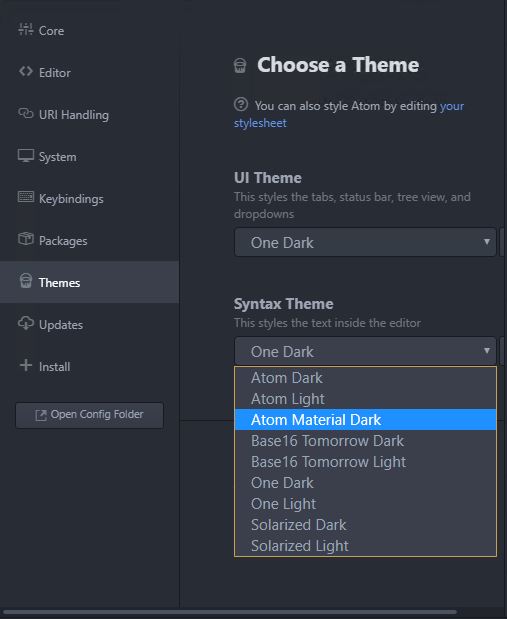
Apply the One Dark theme and the Atom Material Dark syntax theme under the Theme submenu:
If you’re following along with a new font, they can be changed under the Editor submenu.
Atom is now setup and ready to roll! Let’s get started with a basic HTML boilerplate so we can check out our syntax colors. Create a folder for our new project, and open it in Atom by choosing File > Open Folder: